Are you tired of staring through foggy windows, wishing for a clear view of the outside world? Moisture trapped between window panes can be a common nuisance, causing unsightly condensation and obstructing your view. But fear not! With a simple household tool like a hair dryer, you can easily banish the moisture and restore clarity to your windows. In this comprehensive guide, we’ll delve into the step-by-step process of using a hair dryer to eliminate moisture from between window panes, allowing you to enjoy crystal-clear views once again.
Understanding the Problem
Before diving into the solution, it’s essential to understand why moisture accumulates between window panes. Double-pane windows, consisting of two glass panels separated by a spacer, are designed to provide better insulation and energy efficiency. However, over time, the seals around these windows can deteriorate, allowing moisture to seep in between the panes. This moisture buildup not only obscures your view but can also lead to mould growth and damage to the window frames if left unchecked.
Materials Needed:
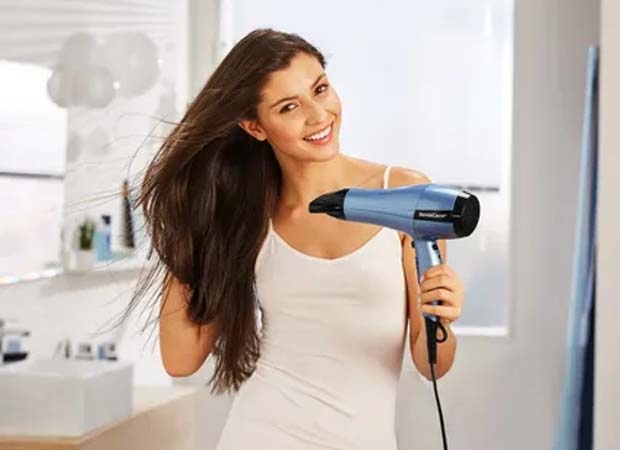
- Hair dryer
- Towel or cloth
- Access to both sides of the affected window
Step-by-Step Guide:
Step 1: Assess the Situation:
Start by identifying the windows affected by moisture buildup. Look for signs of fogging or condensation between the glass panes. It’s crucial to confirm that the moisture is indeed trapped between the panes and not just on the interior or exterior surface of the glass.
Step 2: Prepare the Area:
Clear any obstacles around the window and ensure that you have access to both the interior and exterior sides. It’s also a good idea to lay down a towel or cloth to catch any excess moisture that may drip during the process.
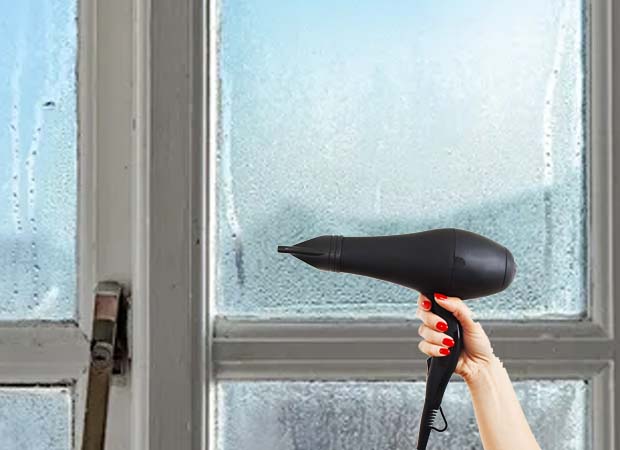
Step 3: Power Up the Hair Dryer:
Plug in your hair dryer and set it to a medium or high heat setting. Avoid using the highest heat setting to prevent damage to the window or surrounding materials.
Step 4: Begin Drying:
Stand on the exterior side of the window and hold the hair dryer approximately 6-8 inches away from the glass surface. Start by directing the airflow across the fogged area in a sweeping motion.
Step 5: Focus on Problem Areas:
Pay close attention to areas where moisture accumulation is more significant. Continue to apply heat evenly across the entire fogged section, ensuring that all moisture is targeted.
Step 6: Monitor Progress:
As you apply heat, you should start to see the moisture evaporating from between the window panes. Be patient and continue the drying process until the fogging completely disappears.
Step 7: Switch Sides:
Once you’ve adequately dried the exterior side of the window, move to the interior side. Repeat the same process of applying heat evenly across the fogged area until all moisture is removed.
Step 8: Wipe Down the Window:
After successfully eliminating the moisture, use a clean towel or cloth to wipe down both sides of the window to remove any residual moisture or streaks.
Step 9: Check for Effectiveness:
Please step back and inspect the window to ensure that it is now clear and free of fogging. Open and close the window to confirm that the moisture issue has been resolved.
Additional Tips and Considerations:
- If you encounter stubborn moisture buildup that doesn’t dissipate with the hair dryer method, consider contacting a professional window repair service.
- Regularly inspect and maintain your windows to prevent future moisture issues. Replace damaged seals or consider upgrading to more energy-efficient windows if necessary.
- In cold climates, moisture buildup between window panes can be exacerbated by temperature fluctuations. Proper insulation and ventilation can help mitigate this issue.
Conclusion How to Remove Moisture from Between Window Panes Using a Hair Dryer
By following these simple steps, you can effectively remove moisture from between window panes using a hair dryer, restoring clarity and functionality to your windows. Say goodbye to foggy views and hello to a brighter, clearer outlook on the world outside. With this cost-effective DIY solution, you can tackle moisture buildup head-on and enjoy the benefits of clear, pristine windows once again.