Dryer vents play a crucial role in efficiently drying your clothes and maintaining the overall health of your dryer. Over time, lint and debris can accumulate, leading to decreased performance, increased energy consumption, and even potential fire hazards.
While you may wonder if you can clean your dryer vent yourself, the answer is a resounding “yes”! With proper guidance, tools, and safety precautions, you can successfully clean your dryer vent and keep your appliance running smoothly. This blog post will walk you through the steps and tips for DIY dryer vent cleaning.
Why Clean Your Dryer Vent?
Before diving into the DIY cleaning process, it’s important to understand why regular dryer vent cleaning is essential. Here are some key reasons:
Improved efficiency: A clean vent allows for better airflow, reducing drying times and energy consumption.
Reduced fire risk: Lint buildup can become a fire hazard, as it is highly flammable.
Longer appliance life: A clean vent reduces strain on the dryer, prolonging its lifespan.
Lower utility bills: Improved efficiency translates to lower energy bills.
How Often Should You Clean Your Dryer Vent
Experts recommend cleaning your dryer vent at least once a year or more frequently if you notice any of the following signs:
- Longer drying times.
- Clothes coming out damp or hotter than usual.
- A burning smell during the operation.
- The dryer becoming excessively hot to touch.
Tools and Materials You’ll Need
Before you begin, gather the necessary tools and materials for the job:
- Screwdriver or nut driver (to remove vent clamps or screws)
- A vacuum cleaner with a hose attachment
- Vent cleaning brush kit
- Flashlight
- Towel or drop cloth (to catch debris)
- Gloves and safety goggles
Step-by-Step Guide to Cleaning Your Dryer Vent
Unplug and move the dryer: Safety first! Unplug your dryer from the power source and turn off the gas supply if applicable. Carefully move the dryer away from the wall, providing enough space to access the vent.
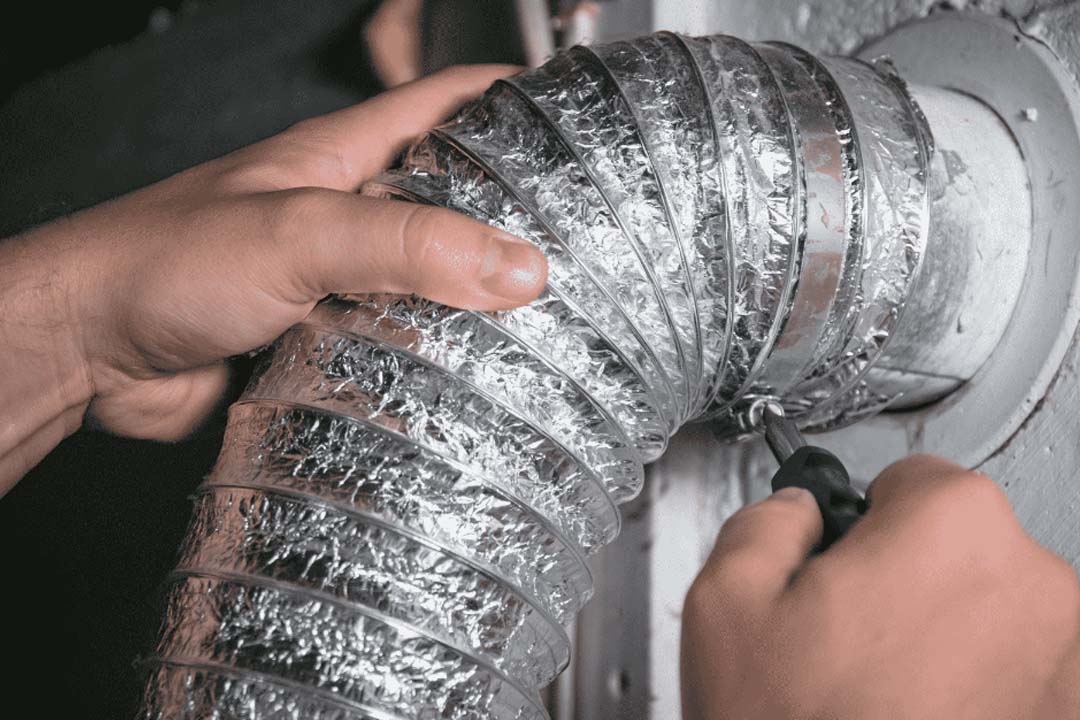
Disconnect the vent: Loosen the clamp or screws securing the vent to the dryer using your screwdriver or nut driver. Gently disconnect the vent hose from the dryer and the wall.
Clean the vent hose: Inspect the hose for damage or excessive lint buildup. If damaged, replace it with a new one. Use a vent-cleaning brush to remove lint and debris from the hose. You can also use your vacuum cleaner with a hose attachment to further clean the hose.
Clean the wall vent: Insert your vent cleaning brush into the wall vent, gently pushing and twisting it to loosen and remove lint. Suppose the vent is particularly long or has multiple bends. You may need to use a brush with an extendable handle or connect multiple brushes. Vacuum up any loosened lint.
Clean the dryer: Use your vacuum cleaner to remove lint from the lint screen housing and the area where the vent connects to the dryer. Be sure to clean the lint screen as well.
Reconnect the vent and dryer: Reattach the vent hose to the dryer and the wall vent, securing it with the clamp or screws. Carefully move the dryer back into place, ensuring the vent hose is not kinked or crushed. Plug the dryer back in and turn on the gas supply if applicable.
Test your dryer: Run your dryer on a short cycle to ensure proper airflow and check for any unusual noises or smells.
Conclusion
Cleaning your dryer vent yourself is achievable and essential for maintaining your appliance’s efficiency, safety, and longevity. Following the above steps outlined in this comprehensive guide, you can successfully perform a DIY dryer vent cleaning and enjoy the benefits of improved performance, reduced fire risks, and lower energy bills.
Remember to stay vigilant for signs that your dryer vent may need cleaning and make it a part of your regular home maintenance routine.